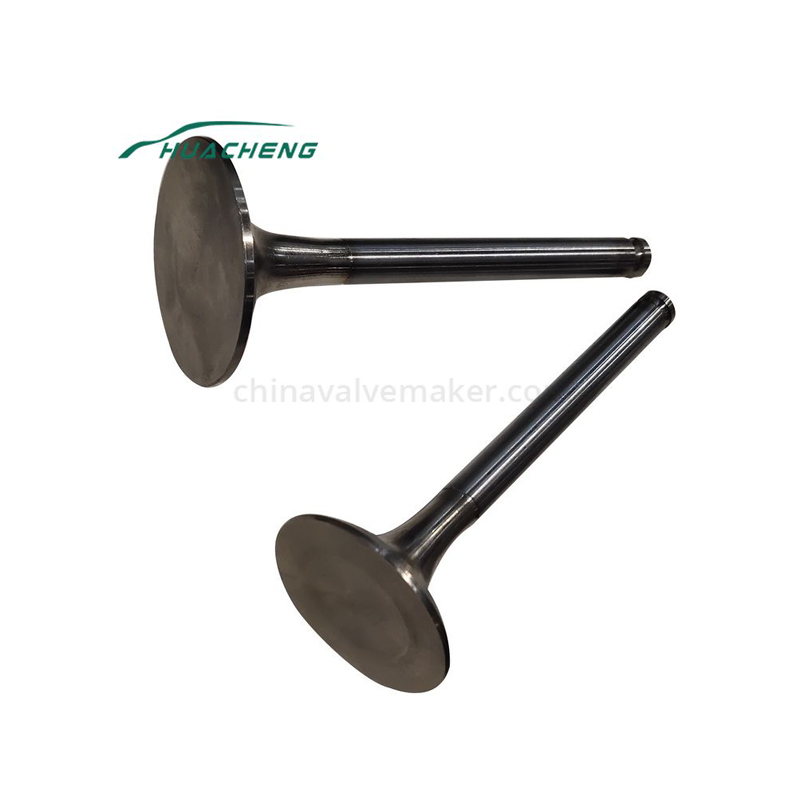
Automotive parts engine valve working environment is harsh, direct contact with the gas, the maximum temperature of the exhaust valve can reach 800 ℃, and at the end of the lubrication cycle, coupled with the valve work when the opening and closing action is frequent, the valve parts are very easy to produce damage. Therefore, attention should be paid to the valve parts of the overhaul, to ensure that it is in normal working condition.
(1) Check the curvature of the valve head and stem. When the valve stem end is deformed or worn, make corrections, and the correction value must be the minimum value. Grind the valve face.
(2) Replace the valve if the thickness of the car engine valve is less than the limit value. When servicing, inspect the end of each valve stem for deflection, wear, and bending.
(3) Check the working surface and stem of each valve for wear, burn, or deformation, and replace if necessary.
(4) Use limit of valve stem end deflection: 0.1mm for intake valve, 0.1mm for exhaust valve; the standard value of valve head thickness: 1.0mn for intake valve, 1.5mm for exhaust valve; limit of use: 0.7mm for intake valve, 1.0mm for the exhaust valve.
(5) Use a micrometer and V-frame to measure the valve stem bending. The valve stem is supported on two V-frames at a distance of 100 mm, and then the bending is measured at 1/2 of the valve length with a micrometer. If the permissible limit is exceeded, it should be corrected with a manual press.

After the valve train is assembled, the spring is in a preloaded state, if disassembled improperly, the spring will pop out and injure the human body, therefore, it is necessary to use a special valve spring disassembler to perform a standard operation when disassembling the valve train, in order to ensure the safe disassembly of auto parts engine valve train. The spring holder is pressed down with the spring pre-tensioned with a spring remover so that the locking pin is free and can be easily removed. The spring holder is then slowly relaxed together with the spring until the spring is in a fully relaxed free position.
The working surface of the valve seat is gradually sagging after several reaming or grinding, which affects the normal cooperation between valve and seat. If the working surface of the valve seat is 1.5mm below the valve seat surface, the valve seat collar should be replaced. mm, the valve seat collar should be replaced. Replacement method: use special tools to pull out the old seat collar, and then put the new seat collar with 0. 0.75 ~ 0. 125 mm interference with the seat hole in the liquid nitrogen tank cold shrinks 15 ~ 20 s. Afters pressed into the seat of the cylinder head hole so that it heats up at room temperature. Alternatively, heat the seat hole of the cylinder head to about 100°C with a blowtorch or gas torch (empirical practice: before heating the cylinder head, apply white chalk powder around the seat hole, and heat it to about 100°C when the white powder turns yellow), then punch the seat ring in quickly and cool it in the air.